MollyMia Aspire to Inspire before we Expire

Saturday 31 March 2018

Hokkaido Travelogue: Day 8 - Asahikawa


And of course we started day 8 with more driving! We picked up the car back at the Budget kiosk located at APA Hotel at around 10am and then it was another 2 hours plus drive up to Asahikawa Court Hotel from Sapporo. Really thankful to the BF for all the ridiculous amount of early driving. :)


Due to a slip up on my reservations, we're actually supposed to have checked in on Day 7 (we overstayed our time in Sapporo) and hence the concierge allowed us to check in "earlier" before the official check in time of 3pm. There's also parking available for our car in the hotel premise itself (it is in the form of a rotating "lift" at the back of the hotel building) at just $1000 yen a day. 
The hotel, although pretty small and basic, and nothing too fanciful, also comes well equipped with all the basic necessities and yukata. 

So after leaving all our barang barang (belongings) in the hotel room, we hopped back onto the car and headed for the 1st (and only) destination for the day, Ueno Farm!

Ueno Farm (上野ファーム) is a popular farm garden in Nagayama-cho, Asahikawa city and has been a farmer since 1906. Ms. Sayuki Ueno (上野砂由紀), a gardener, made a Hokkaido-style garden suited for climate and natural features of Hokkaido as the foundation for an English-style garden at their site and the garden has been opened to public since 2001. More than 2000 kinds of flowering plants are planted at 1 ha of the site, and visitors can enjoy different flowers from a spring to an autumn. Admission fee is JPY 800 with free parking available. 
The farm garden is divided into 10 segments such as Garden of Gnome (ノームの庭), Pathway of White Birch (白樺の小道), Mirror Border (ミラーボーダー), Purple Walk (パープルウォーク), Circle Border (サークルボーダー), Long Border (ロングボーダー), Mother's Garden (マザーズガーデン), Garden with Hearing Voice of Tree (木の声が聞こえる庭), Mt. Shatekiyama (射的山) with 171 m in Height and Pathway of Gnome (ノームの散歩道), and there are the west entrance, east entrance, rest rooms, parking lots, and a restraunt, a variety goods shop, a soft serve ice cream shop and a young plant shop are provided at the west entrance. In addition, it is a special feature that chickens grazing freely run around. It takes about 60 minutes to go round and takes about 3 hours to go round seriously.
-excerpt from good-hokkaido.info-


Towards the right of the premise is Naya Cafe, which apparenylu specialises in soft serve ice cream.


But sadly, they were out of soft serves when we're there, and so we settled for a parfait instead, which is also rich and creamy!
And so after warming ourselves up with a cuppa coffee, we headed back out to the rainy chilly weather for a walk in the garden. I was expecting animals, since they're called a farm (and I seriously read some travel blogs that posted pictures of animals too) and hence was just a little bit disappointed to find out that it's actually a garden, with no animals whatsoever. 
Plus, since we visited during an off-peak season, we're pretty much greeted by a sea of green. 
But I can imagine how beautiful it would be when all the different flowers are in full bloom and this place would be the perfect spot for some serious #ootd camwhoring.

Seriously, the BF loves taking pictures of me, where you cannot see my face. 
Is this some kind of hint?

 Yes, finally some FLOWERS!


Saw this "bear family" on a large patch of empty land that's probably not part of the farm's premise. But we went down despite of the crazy cold wind (there's absolutely nothing, not any form of building or structures anywhere to block out the wind) to snap a picture with the "animals". I swear my smile looks exactly the same in all pictures by now because it's literally FROZEN onto my face. 

And I held the hand of a gnome too, isn't it cute? :)

Ueno Farm is located at 16 Chome-186 Nagayamacho, Asahikawa and is open daily from 
10am to 5pm.


And while on our way back to the hotel, we came across this frigging long and empty stretch of airport runway lookalike road, we just had to stop the car by the side of the road and take an #ootd shot. 
I mean, where else can we take such a shot, right?

And guess what's right across the road from our hotel?

It's Santouka Ramen, OMG! It's my favourite ramen franchise in Singapore, and it so happens that this is their first ever flagship store in Hokkaido. 
This is where it all started. 


Other than the aji-tamago, which surprisingly didn't have a runny yolk, everything else just tasted so delicious and it's also cheaper compared to the Santouka Ramen we have in Singapore. 

ps. we had this for dinner again on Day 9, because the BF insisted. 

After filling our tummies, we took a turn around the corner and headed for Heiwa Street Shopping Park. Opened on 1st June 1972, they're the first pedestrian only street in Japan, with more than 100 shops and restaurants occupying this shopping street. There's also not one, but TWO 100 yen shops (that's not Daiso!) along the street, one being Seria in Feeeal and the other is called Silk in EXC!

But the only disappointing thing was, they're mostly closed by latest 7pm, so we ended up not being able to do much shopping while we're there. 

And so, what's up for the night? Just more snacking and drinking in the hotel room!

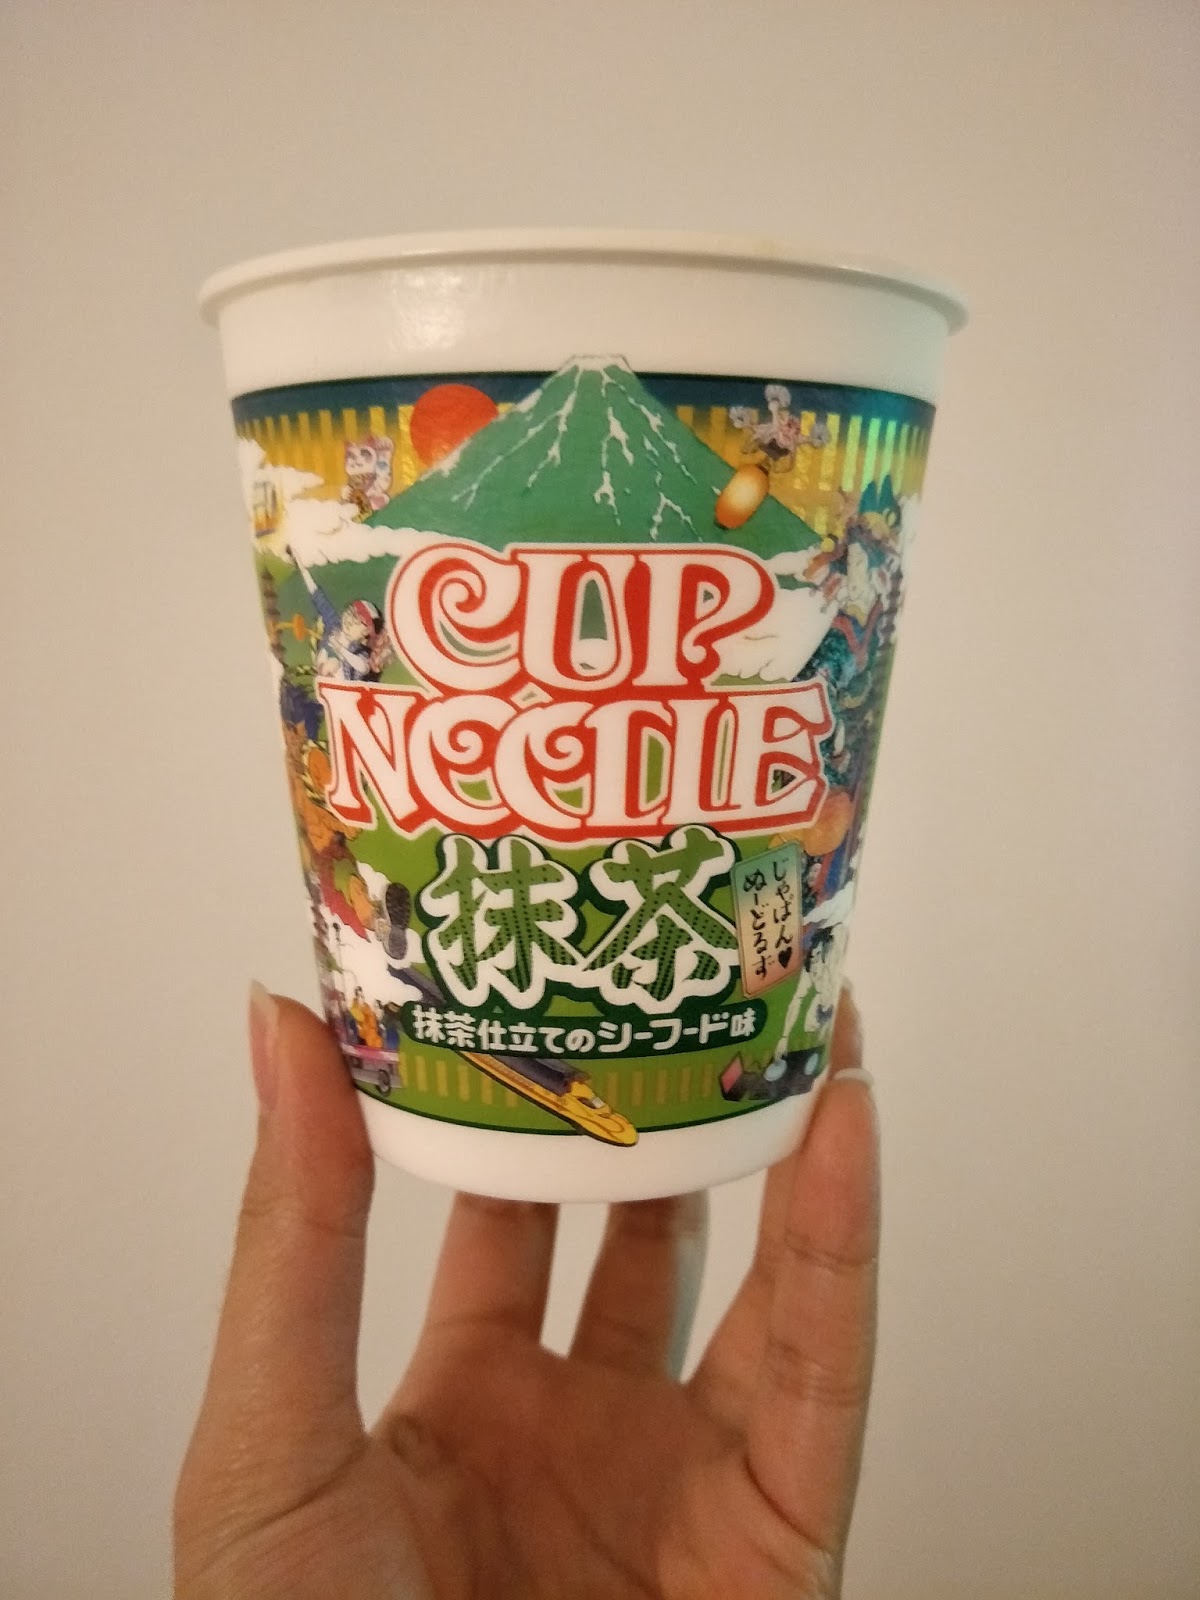
Well, don't be put off by the idea of a matcha cup noodle, it's actually real good!

Can't say the same for these "interesting-looking" beers and ciders though.

Read up about my Day 7 HERE
Recount of my Day 8 in Takinoue & Yubetsu is up HERE

Till then,
Mia Foo


Mia Bakes: Biscoff Stuffed Birthday Cake Muffin

Recently, we planned a surprise birthday celebration for CL by surprise-whisking her to The Clifford Pier for a high tea buffet while telling her we're headed to Phoon Huat to pick up some missing ingredients for our bake-date. 
And well, since a birthday celebration is already on the way, I thought, "when's a better time than now to try out something I've always wanted to?"
And it's sprinkles! Loads and loads of them! And that's how you inject all the joy and happiness into a birthday cake, right?

So, for 6 servings of the birthday cake muffin, you'll need:

For streusels/crumbs toppings:
25g all purpose flour
15g castor sugar
18g COLD unsalted butter (cut into small cubes)
1/4 tsp ground cinnamon (optional)

For muffins
125g all purpose flour
80ml buttermilk
80ml vegetable oil (or any other flavourless oil)
1 egg
60g castor sugar 
(this is already a reduced sugar recipe)
40g sprinkles
(I used multi-coloured chocolate rice)
1/4 tsp salt
1 tsp baking powder
1/2 tsp vanilla extract
6 heaping teaspoons of biscoff spread
(I used crunchy, but you can use smooth)

recipe adapted from confessionsofacookbookqueen

First up, spoon 6 heaping teaspoons of biscoff spread onto a baking sheet and freeze them in the freezer until fully harden.
Next, prepare the streusels. First, add all the dry ingredients into a bowl and give it a whisk to mix well. Then, using either a pastry cutter or the simple fork-and-knife combination, cut the cold butter into the dry ingredients until it turns sandy and lumpy. Set it aside in the fridge until you're ready to use it.

In a clean bowl, add in the egg, buttermilk and oil. Mix until well combined. Stir in the sugar and vanilla extract until well combined before mixing in the flour, salt and baking powder until just combined. Lasting stir in the sprinkles until the batter turns all colourful and cheery!

Prepare your muffin tin by spraying them down with non-sticking cooking spray or simply coating it with some butter. Fill up each well with about 1 1/2 tablespoon of the batter before popping a frozen teaspoon of the biscoff spread into the centre. Then, top up each well with the rest of the batter. 
Sprinkle the streusels over the top of each well and then finishing off with as much (or as little of) sprinkles you fancy. 

Send the muffins to bake in an oven pre-heated to 200 degree Celsius for 15 minutes, or until a toothpick inserted (to the sides, else you'll just get the molten biscoff centre) comes out clean.


As you can see, the cinnamon gave the streusels a not very appealing colour, so if you prefer a prettier looking muffin, you might want to omit the cinnamon. 


And look at that molten biscoff centre! It is so so so yummy!

Till then,
Mia Foo

Saturday 24 March 2018

Mia Bakes: Oreo Chocolate Stuffed Whipped Cream Mini Chocolate Cake

Haha, I know that sounds like a mouthful. But this idea came about because of the leftover whipping cream sitting in my fridge after baking off some biscoff baked cheesecakes and I didn't want to bake anymore egg tarts, so a quick search on google taught me that whipping cream may be substituted for butter as the fat component in cakes, so here goes!


For 6 servings, you'll need:

40g all purpose flour
10g unsweeten cocoa powder 
(I used black, but you can use the usual)
120ml heavy (whipping) cream (cold)
1 egg
40g baking stevia
(twice the amount if using castor sugar)
1/4 tsp salt
3/4 tsp baking powder
1/4 tsp butter oil flavouring (optional)
1/4 tsp vanilla extract 
(using 1/2 tsp if not using butter oil)
(or any other chocolate/filling of your choice)

adapted from marthastewart.com

First up, in a clean bowl, whip up your cold whipping cream until stiff peaks form and set aside. In another bowl, whisk together the egg, extract(s) and sugar until the mixture turns pale yellow and thicken. Then, add the egg mixture to the whipped cream in 2 to 3 additions, folding lightly with a spatula to combine. 
I know the instructions on marthastewart is to continue beating in the mixer until it thickens into consistency of mayonnaise and add the sugar last, but I find that there's a high chance of overbeating the mixture and causing the whipped cream to separate and you'll end up with butter curds. 
After the wet mixture is folded until well combined, sift in all the dry ingredients and fold with a spatula until just combined. 

Prepare your 6-well standard muffin tin by spraying them with some non-stick cooking spray, or you may line them with cupcake liners if you wish. Spoon 1 tbsp of the batter into each well and drop a cube of oreo milk chocolate into the centre of each well before covering it up with the rest of the batter. Each well should be about slightly more than 2/3 filled. 

Send your cakes to bake in the oven pre-heated to 175 degree Celsius for about 18 to 20 minutes, or until a toothpick inserted (towards the sides if not you may pierce the melted chocolate centre instead) comes out clean.


Unlike a standard cake using creamed butter, I find these turn up way soften and finer in texture, however, lacking in the usual buttery fragrance (like DUH, there's NO BUTTER!) Perhaps using better quality flavouring essence (and more of them) can be considered, if you prefer your cakes with more flavours. However, having the stuffed chocolate centre totally made up for the lack of strong flavour in the cake itself. 

Till then,
Mia Foo

Tuesday 20 March 2018

Mia Bakes: Biscoff Baked Cheesecakes

Very recently, I got a taste of Bloomsbury Bakers' speculoos cheesecake (thanks to CL!) and it was so good! Well, coming from someone who doesn't really like cheesecakes (especially no bake cheesecakes), this can only mean that it was absolutely divine! I mean, how can you go wrong with speculoos, right?
And so, the ever-so-gluttony me decided to try recreating my own version of the speculoos cheesecake!


So let's get over the ingredients, so we can get started!

You'll need:

For the cookie base
15 pcs of biscoff cookies
5 pcs of butter cookies
(I used tiger original bisuits because I wanted to use them up)
30g unsalted butter, melted
a pinch of salt

For the filling
200g cream cheese, soften
1 egg
1/4 tsp vanilla extract
60ml whipping cream
15g plain greek yogurt
60g biscoff spread
(I used crunchy, but you can use smooth and add more crushed biscoff)
a pinch of salt
5 pcs of biscoff cookies, lightly crushed

recipe adapted from delish.com

First up, fill your oven's baking tray with water (enough to cover up to half the depth of your muffin tin) and pre-heat it to 160 degrees celsius (or 325 degrees fahrenheit).

Next, to prepare the cookie base, pop the biscuits into a ziplock bag and crush them well using a rolling pin. Add in melted butter and salt, and toss them until the consistency resembles wet sand. It should hold together when you apply pressure, so if they don't, just add more melted butter.
Evenly distribute the cookie mixture into 12 standard size muffin/cupcake tins and press them down until they're evened out and well compacted and set them aside.
As you can see, instead of 12 standard cupcakes, I've made 6 standard + 12 mini instead.
That'll work too.

In a clean bowl, beat the cream cheese with a handheld mixer or a balloon whisk to loosen it up before beating in an egg and vanilla extract until well combined. Then, mix in the whipping cream and greek yogurt until well combined before mixing in the biscoff spread. Finally, fold in the crushed biscoff cookies and you're ready to assemble!

Evenly distribute the filling into the 12 muffin tins with cookie base. You may crush up more biscoff cookies and sprinkle them over the top of your cream cheese filling before sending them into the oven and bake for 20 to 25 minutes. Check if your cheesecakes are done by lightly pressing down on the surface and if it holds up (doesn't matter if it's slightly jiggly), it's done!


I've decided to do without anymore added sugar as the biscoff spread is sweet enough for me. However, if you'll prefer a sweeter baked cheesecake, you may add more biscoff spread or beat in a tbsp or two of castor sugar into the cream cheese before adding the egg and vanilla extract. :)

Just like any other baked cheesecakes, these yummies should be chilled at least a few hours (or preferably overnight) in the fridge before you sink your teeth into one! 

Till then,
Mia Foo

Saturday 17 March 2018

Hokkaido Travelogue: Day 7 - Sapporo


Initially, I have planned to have cakes at Odori Bisse for breakfast on Day 7 in Sapporo, but somehow, along the way, Kinotoya Cafe at Bisse Sweets got me distracted, mainly because their bakes look way more "breakfast worthy" as compared to those fancy looking cakes, which might be a little too surfeiting. 


Omelette Parfait Set - 756 Yen

Actually, I was really expecting an omelette, but it was actually a layer of very soft and fluffy (a tad dry, though) sponge cake, topped with a generous layer of light whipped cream and cut fruits like strawberry, kiwi, peach, grapefruit and etc. First look at the amount of whipped cream and I was a little put off, thinking that it would be too jerlak (surfeiting), but it turned out pretty all right, partially because the sponge cake was on the drier side, so having more of the whipped cream really helped. 


Morning Set B - 756 Yen

The BF's set B consist of this pretzel croissant, along with clam chowder, a side salad and a cup of hot coffee/tea. 
First time trying a pretzel croissant, but I can't decide if I really like it. Perhaps either a croissant, or a pretzel would have been better? 

Kinotoya Cafe Odori Koen is open from 8am to 9pm daily. 
For more information, visit their website HERE.

So after a satisfying #cheatdayworthy breakfast, we hopped onto the Tozai Line and headed over to the Sunpiazza Aquarium located at Shin Sapporo Station. 

The Sunpiazza Aquarium is a compact city-type aquarium located next to a large-scale shopping center and is an easy access from both the JR and subway stations. Visitors can enjoy going to the aquarium as well as shopping and having a meal. There are saltwater fishes and crustaceans brought from a wide area which includes the neighboring seas and southern oceans, a habitat for coral reefs, and rare freshwater fishes. Other attractions include the harbor seals and rockhopper penguins who are loved for their adorable movements , the Asian small-clawed otter, and the clione, which is characterized as “ floating ice angels”. 
“The Fish Circus Show” takes place everyday and on Sundays and holiday, the staffs puts on a feeding show in the water tank that accommodates approximately 1,500 fishes. Visitors can touch crabs and starfish in the “Touching Pool”. 
-www.sapporo.travel-

The aquarium is located at the Sunpiazza Shopping Mall and is barely a 3 minutes walk from the subway station. Entrance fee is priced at 900 yen for adult, and even thought aquarium isn't that big, you can still spend at least 1.5 to 2 hours here. 
And here are some spoilers for you. :)

There's this "doctor fish" tank, which the BF had a great time entertaining himself over. Personally not a fan, too itchy!

There's this cute looking seal/sea lion (?) with a very attention-seeking pair of nostrils. 
Watch my instagram video HERE

I LOLed at this candid shot the BF took for us (Mr. Stingry and I). Love how it seems like we're staring at each other. 

And this, is the biggest attraction point of the squarium for me! You get to "shake hands" with an otter! Believe it or not, I've waited almost 1 hour, right at the otters' exhibition tank for this. 
Watch my instagram video of the otter's handshake HERE

And we're also lucky enough to bump into the timing of their penguin-walk the very minute we reached the aquarium at 11 plus am. 
Watch the cute little penguin's walk to the elevator HERE

The Sunpiazza Aquarium is open from 10am to 6pm daily. 
For more information, visit their website HERE

So after bidding all the sea creatures goodbye, we hopped back onto the Tozai Line and headed to Maruyama Koen Station, where the Hokkaido Shrine is located at, 15 minutes walk away. 


The Hokkaido Shrine was built in 1869 after the Meiji Emperor decreed that the “three pioneering gods” be enshrined to uplift the spirit of the pioneers. Judge Yoshitake Shima, who had undertaken the design of downtown Sapporo at the time, selected Maruyama, which was surrounded by mountains on three sides and open to a plain on one side, as the site of the new shrine. The existence of a shine dedicated to the Shinto deities not only offered spiritual support to the pioneers, who faced difficulties in clearing through the virgin forest, but also served as a gathering place for the people to meet and talk. In 1964, the Showa Emperor approved the additional enshrinement of the Meiji Emperor, thus Hokkaido Shrine now enshrines four gods. The protective deities, who have overseen the development of Hokkaido and the happiness of its people, continue to play an important part in Hokkaido citizens’ lives — particularly on New Year’s Day, the day before the start of spring, and during exorcisms and weddings. The nature-rich shrine, where visitors are likely to see wild squirrels, draws many visitors in the spring when cherry and plum blossoms bloom simultaneously.
-www.sapporo.travel-


The shrine is basically located within Maruyama Koen, and house up to 1400 Sakura trees and 250 Ume trees. I can only imagine how stunning the place will look like during Spring/Sakura seasons. But as we chose to visit during end of May/early June, which is the super off-peak and absolutely-nothing-is-blooming season, it did look like of miserable. 
We specially dropped by the convenience store to pick up a pack of nuts, hoping to feed the squirrels (supposed to have a lot of resident squirrels at the park), but I guess the rain forced them all into hiding. :(

And so, feeling damn disappointed, we hopped back onto the Tozai Line and headed back to Odori/Susukino area for more random (daiso) shopping, dinner, and pachinko. 

Did I mention that the BF was OBSESSED with pachinko? =.="

Anyway, the plan was to look for the popular Garuku Soup Curry, but we just chanced upon Curry's Tribe located near the Tanukikoji Shopping Street and decided to give this a try.


Love, love love these so much! 
Even though not as insanely popular as Garuku, this is still so much better than the Hokkaido Soup Curry that has landed in Singapore a while ago. I guess that's how it is, everything in Japan just taste way better. 

For more information on Curry's Tribe, visit the website HERE

And this basically concludes our time in Sapporo! Read about our day 8 in Asahikawa right HERE!

Till then,
Mia Foo

Thursday 8 March 2018

Mia Bakes: Sweet Potato Mochi Nian Gao Balls

On my previous post on Portuguese Nian Gao Egg Tart (HERE), I've mentioned that I've baked two different nian gao snacks and so, here is the second one, sweet potato mochi nian gao balls!

For approximately 30 mochi nian gao balls, you'll need:

Approximately 1/3 of a medium sized nian gao
200 to 225g of purple sweet potato (peeled)
100g glutinous rice flour
1 tbsp corn flour
30g castor sugar
1 tbsp vegetable oil
(or other flavourless oil)
2.5 to 3 tbsp water
a pinch of salt
(recipe adapted from msyummylicious.asia)

Cut the nian gao into small cubes to your preference, depending if you'll like your mochi nian gao balls big or small. They need not be of the same size, as you can always stack a few of the "stray corner pieces" together into 1 ball. 
First up, chop your peeled sweet potato into large chunks and steam it for approximately 20 to 30 minutes until they're cooked and soft enough to mash. While still hot, mash them up with a fork.
Add in the rest of the ingredients and mix well with a spatula or just with your hands (it's so much easier as the dough will be rather stiff) until everything comes together into a pliable dough. 
I suggest that you start off with just 2 tbsp of water first and add more if you find your dough too dry and crumbly. Final texture of the dough should be of playdough consistency, and doesn't stick to your hands at all.

If you're a little OCD, you might want to weigh your dough and divide them into equal pieces according to how many nian gao cubes you have, or you can just go free and easy like me, and eyeball everything. I even ended up with differing sizes of the mochi nian gao balls. 

So, either with your measured out portion or an eyeballed portion of the sweet potato dough, flatten it in between your palms and wrap a piece of the nian gao cube inside. Repeat until you've used up all your dough/nian gao cubes.

In a small pot, heat up some frying oil over the hob and fry the balls over medium heat until it just starts to brown. Remove from the oil and set aside to drain. After 1st round of frying, turn up the heat and re-fry the fried mochi nian gao balls over high heat for just a couple more seconds before removing from the oil. Drain off the access oil using paper towels and your fried sweet potato mochi nian gao balls are ready to serve!


These are oh-so-chewy, so sweet, and so addictive! And oh yeah, rather high in calories too, so make sure you don't over-snack on them. HEH! 

Till then,
Mia Foo

Saturday 3 March 2018

Mia Bakes: Nian Gao Portuguese Egg Tart

Hello lovely readers, CNY 2018 has just ended, which means... It's time for some nian gao bakes again! If you still have no idea what's nian gao, or how does it look like, you can drop by my last year's recipe for Nian Gao Mochi Balls HERE

Anyway, this time I've decided to challenge myself and make TWO nian gao snacks at once, and so let's start off with some Nian Gao Portuguese Egg Tarts, an idea I've shamelessly copied from Yum Cha. It was a, "Oh yeah, why hasn't anybody thought of adding nian gao into egg tart?" moment when I saw all those influencers' posts on their mini nian gao egg tarts on instagram and I decided to further oomph it up by switching it from a Chinese (HK) egg tart recipe to a flaky, Portuguese egg tart recipe!


So here's where you need for 6 standard muffin tin sized tarts:

recipe adapted from peggy lee on freefoodrecipe24.blogspot.com

1 frozen pre-rolled sheet of puff pastry (I used Borg's)
(if you wish to abuse yourself as make your own puff pastry, go ahead!)
60ml heavy cream
100ml whole milk (do not use skim milk)
1 large egg yolk (at least 15g)
1/2 tbsp corn flour
1/2 tsp vanilla extract
20g sugar 
a pinch of salt
sliced nian gao 
(according to your preference, so long it fits into the base of the tart, but thinner slices are better)

Do note that the thicker your nian gao is, the less egg custard you shall have, and the less sugar you should add into your egg custard because the nian gao is darn sweet on its own!

First up, cut your thawed pre-rolled puff pastry into half and stack the two pieces on top of each other and rolling it tightly into a log on the shorter side. Wrap this up with cling wrap and put it back into the freezer for a few hours or overnight. 

While the puff pastry log is still frozen, slice it into 6 equal pieces using a sharp knife and pop them into a lightly greased muffin pan and set them aside for 15 to 20 minutes for them to thaw out while you prepare the custard.

In a small pot, add in your heavy cream, whole milk and sugar and heat them up over small fire until all the sugar has dissolved. 
Take the pot off the heat and whisk in vanilla extract and corn flour until smooth before whisking in the egg yolk. Then, bring the mixture back onto low heat and cook until the mixture begins to thicken (coats the back of your spoon). 
Bring the entire pot off the hob and set it aside in cold water to cool down the mixture. 

When your puff pastry is thawed, press it in slowly into the muffin cups with WET FINGERS. 
Learnt this trick from Cupcake Jemma, so you might want to check out exactly how it's down HERE

Be very gentle and slow with this as you do not want to tear your pastry skin. I do so by first pressing it down right at the centre with my thumb, and then give the base a few good presses along the sides of the base to thin out the pastry, before using the tip of my forefinger to slowly drag the pastry up on the sides of the muffin tin. If you have really long fingernails, this step will be a total b*tch, so I'll highly advise that you trim your nails short before attempting this step. 
Otherwise, you might want to try first rolling it out into a disc first (but seriously rolling out a circular disk takes MORE skills, no?) and then fit the circular sheets into the muffin tin by making minor adjustments here and there.

When all your muffin cups are now fitted with the pastry skin, pop a piece of sliced nian gao into the base of each tart and fill it up to 80 - 90% full with the egg custard. 

Pop your tarts into a pre-heated oven at 250 degree Celsius to bake for about 20 minutes. 

Can you see my 2nd nian gao snack in the background? 
(find out what is it HERE)

These tarts are best enjoyed while they're still warm, as the nian gao will be extremely soft and gooey. As you can see, I've very unskillfully sliced my nian gao a little too thick, hence I've ended up with equal ratio (or slightly more) of nian gao than egg custard layer. =.="
I guess an idea ratio will be 4:6? >.<

Do try out this recipe and let me know if you like it!

Till then,
Mia Foo